When looking at a contractor’s work, sometimes you notice that there are really amazing cuts and more that are perfectly smooth and have excellent precision. But did you know that there are actually many miters saw tricks that they use which anybody could do? Most often, this is not the case. A lot of users don’t know everything they could so, so that’s why this post is about miter saw tricks, brought to you by Miter Saw Buzz, that you can perform to get a better cut every time, as well as help you more in your DIY projects.
- Sharpen and Adjust Your Saw for You
When you get a miter saw from the factory, they’re set to a standard setting. Everyone has different preferences, and not only this, but in the shipping and “receiving” area of the store, a miter saw can be knocked out of alignment or adjustment. Make sure your saw is cutting as square as possible and keep it adjusted and tuned up. - Change Your Blade
The more teeth you have on a blade, the cleaner the cuts you can achieve. When it comes to cutting are cutting and need more precision and smoother edges, use more blades. For projects where looks aren’t important (like wall studs, etc.), then you need to use blades with fewer teeth. Whatever the cause, make sure you replace your blades frequently to always get the best cuts and keep safety issues to a minimum. - Trim Wood Edges First
When you buy lumber, there are often dings and more. When you buy lumber from a factory or lumber yard, most of the time it isn’t perfectly square, and needs to be trimmed in order to be. Get rid of the ends and square up the edges and you may just have more wood you can use for your project. - Don’t Cut Your Line
When you draw a line or tick mark on your board, most of us have the tendency to cut it off, but sometimes this can result in a board too short. If you leave the line in your cut (or half of it at least), then you’ll see that you may or may not need to fine tune your cut. If you don’t have to, you can always sand or clean the line off later. - Use the Saw Blade as a Marker
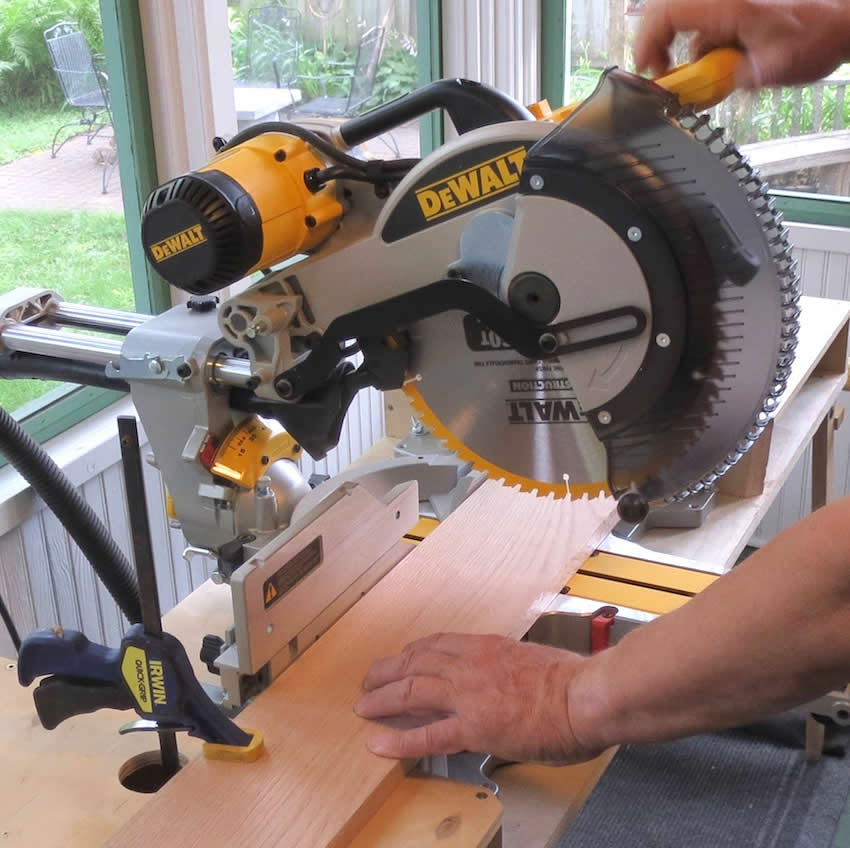
Don’t have a pencil? Don’t sweat it. Not only this, but many times you may end up cutting the wrong side of the line you draw with a pencil. And even if you do, you can literally draw the line and always lower your saw down to make a small “impression” so you can see where the cut will lay because the saw blade is usually not as thin as your pencil (most saws cut about 3/8 inches wide unless you have a wider saw).
Conclusion
Use this guide to help make more clean cuts with your miter saw, and always practice safety, which comes first. By using the ideas and tricks in this guide, you can have an easier crosscut on your saw, and remember one general rule about miter saws; they are used for crosscutting and normally not for ripping boards, so don’t try to rip a 4-foot board with a 12-inch blade or you might end up with serious trouble (this is also not safe).