Since the COVID-19 pandemic, the number of people joining craft groups to learn a skill or socialize has skyrocketed. Now that the world is slowly getting back to normal, these groups are a mix of virtual and in-person meetings.
Maybe you haven’t been able to find a crafting club in your area, or the times aren’t convenient. Whatever the reason is, when you start your own club, you’ll be able to find plenty of fellow crafters.
The key to a successful club is to make sure everyone knows your mission and is on the same page. For instance, one of the important parts of any club is a no drama allowed rule.
Ready to jump into the world of leading a crafting club? These nine helpful tips will get you started!
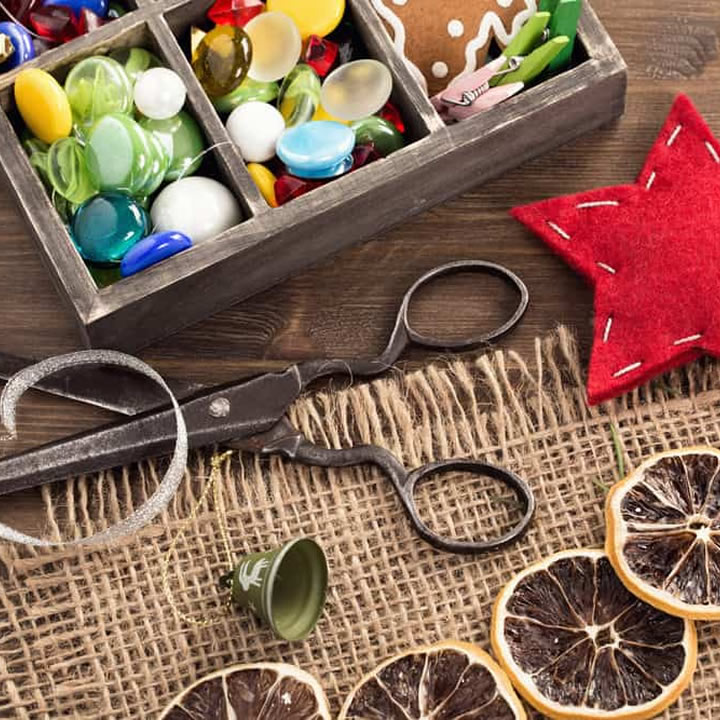
1. Decide on the Crafts You’ll Teach
“Crafts” is a really vague term, but that’s okay. If you want to be able to include any and all crafting skills in your group, keep it general. Otherwise, narrow down your focus to exactly what the club is going to be doing when they meet.
2. Virtual or In-Person? You Choose
The decision of whether you want to host your club virtually or in person is up to you. There are pros and cons to each of these locations.
Virtual meetings give you a wider audience of people who will want to join your group. It’s also a great socially distant activity for those concerned about their health. There’s no worry about where the event will be hosted, either!
However, it’s harder to critique a craft skill without being hands-on with the learner to show them their mistakes.
If your goal is to find a way to be more social, in-person crafting meetings is the way to go. There’s the added concern of where each meeting will be held. But, other than that, in-person is an easier way to learn any craft skill.
3. Determine the Target Level
Will your club be for beginners, intermediate crafters, or those with advanced skills? Are all levels welcome, and, if so, how will you differentiate your instruction?
The answer to this question needs to be made clear when you start to invite people to your group. That way, people will know what to expect when they come to meetings.
4. Come Up With a Schedule
A lot of organizers try to wait until they have everyone together to come up with a schedule. The fact is, though, you will never be able to have everyone agree on a time that’s best for them all.
Since you’re in charge, start with times that are good for you. From there, you can choose to set a specific schedule or take a vote from the members of the group once they join.
5. BYOS or Supplies Provided?
Every craft requires supplies. Are you going to charge a club fee and provide the supplies, or do your members need to bring their own?
To give everyone time to prepare their materials, you’ll need to have an advanced plan of what they’ll be doing. If you’re providing them, you have more flexibility. You can throw something together at the last second if you had to, as long as you have the supplies.
If your club is donating its finished products, you may be able to receive supplies from donors and fundraisers.
Don’t forget to include clean-up supplies. Some crafts, like oil painting, require special materials to properly take care of the mess. This article from RileyStreet gives you tips on cleaning up after using oil-based paints.
6. Make it Family-Friendly
The surest way to attract a wide audience is to make your group family-friendly. This does not mean you have to cater to children, since some people look forward to their meetings as a break from their little ones.
You can make it family-friendly by holding your meetings when you know there’s a public babysitting night at a local business. Or you can have everyone with children chip in for an on-site babysitter.
7. Create an Invite and Advertise
How will you advertise your club to get noticed? Start by creating a little invitation on a free site like Canva. Include all the essential information, like:
- The types of crafts you’re going to be doing
- The target level
- Online/in-person and a tentative schedule
- Your decision on family-friendly vs. no kids allowed
- Any costs or supply requirements
Your contact information should be clearly stated on the invite. Keep it simple and to the point, with an eye-catching image of the craft to grab everyone’s attention. Then, decide where you’re going to post the ad.
8. Come Up With the Rules
Before your first meeting, come up with any rules for the group. If you’re not a big structured person yourself, this can sound intimidating. But members of a club expect at least a few rules to set a foundation for a safe and welcoming environment.
Your rules can be anything from “arrive on time” to “be kind to everyone.” Don’t go overboard, though. Stick to five to ten rules to get your club started.
9. Start a Facebook Page
There are lots of social media platforms, but Facebook is the one that is easiest for groups to communicate. Take the rules you’ve created, the logo you made, and your information, and make a Facebook page.
Invite all the members who have signed up for your club to join your page. If it’s open to everyone, suggest that your current members share the page with their friends.
Update your page regularly with any changes to the schedule and the next craft meeting and supply list. You’ll find that having everything posted in one place makes communication convenient!
Conclusion
Starting your own crafting club isn’t too much different than any other organization you’ve been in, except you’re in charge! Just like any other group, you need to have structure, rules, and communication.
These nine tips will help you prepare all of this before your first meeting, so you can focus on the craft and having fun!