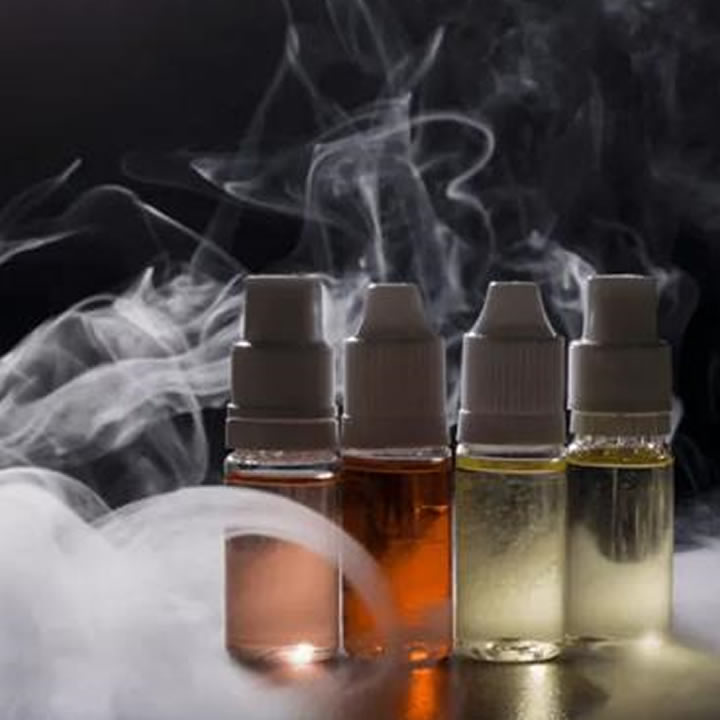
The world of vape juice is enticing and flavoursome. The endless lines of flavours, the savouring blend of sweet and sour, and the limitless options make it an inviting option. If you’ve been vaping for a while, and are looking for ways to customize your e-liquid blends, this article is made for you.
Here’s a quick guide on how to make your e-liquid!
What are the types of equipment that you need?
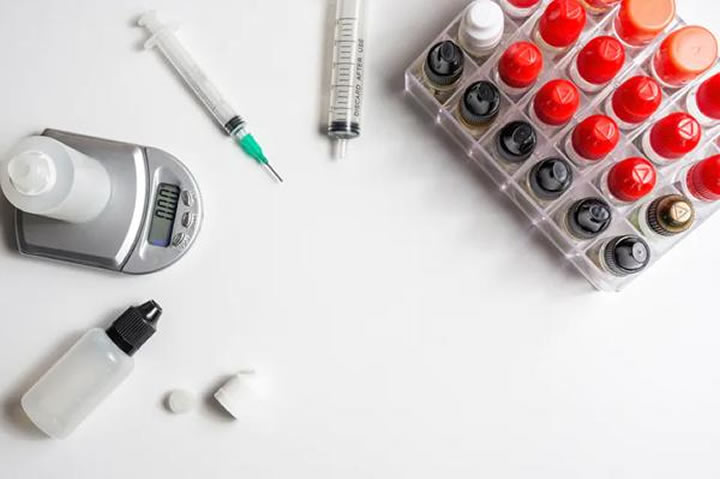
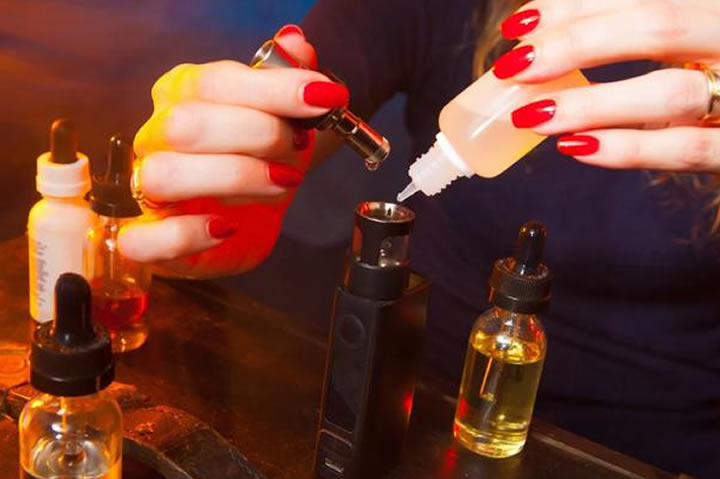
Brewing your batch of vape juice may seem like a task, but you can start by collecting the right kind of equipment. The basic ones involve a bottle, measuring containers, pipettes (or syringes), gloves for safety, and something to clean the mess if you spill.
Make sure you buy bottles that match your requirement, and if this is your first DIY batch, go for the smaller ones before investing in 50 or 100ml juices.
Now that you have your equipment checklist ready, let’s take a look at the Ingredient. Pay attention cause’ this is extremely crucial to make a powerful blend.
Ingredients for home-brewed E-liquids
Nic shots. As a seasoned vaper, you’re probably aware of these little bad boy shots. People who are avoiding nicotine, skip over to the next ingredient.
Everybody has their favoured blend of VG and PG that gives them their choice of vapour and flavour. If you’re looking for a stronger vape juice with higher nicotine content, nicotine shots are the perfect addition to it.
These are available in any e-liquid shop. You can find these in 10ml bottles as anything larger than that is illegal in the UK for personal use. The legal limit is 20mg for nicotine strength.
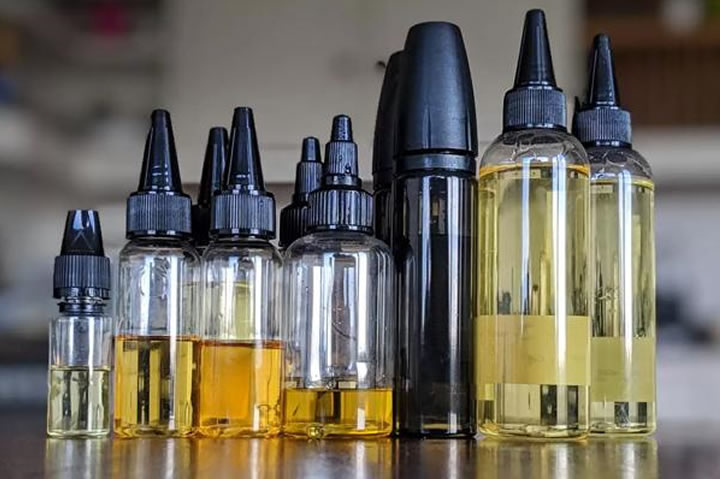
PG and VG liquid. These are the two OG liquids that make up all the vape juices that we see in the market today. These are organic ingredients found in many other products, but when blended in a 10ml bottle, they make a powerful blend of flavour and vapour.
PG, also known as Propylene Glycol, is responsible for the bursting flavour that you drool over while vaping. It is a thin liquid that offers a slight hit as you inhale.
Vegetable Glycerine, the other main ingredient of an e-liquid is used to produce large clouds of vapour and is smoother on the throat. You might want to find the perfect percentage of both these ingredients to make an e-liquid that gets you rolling!
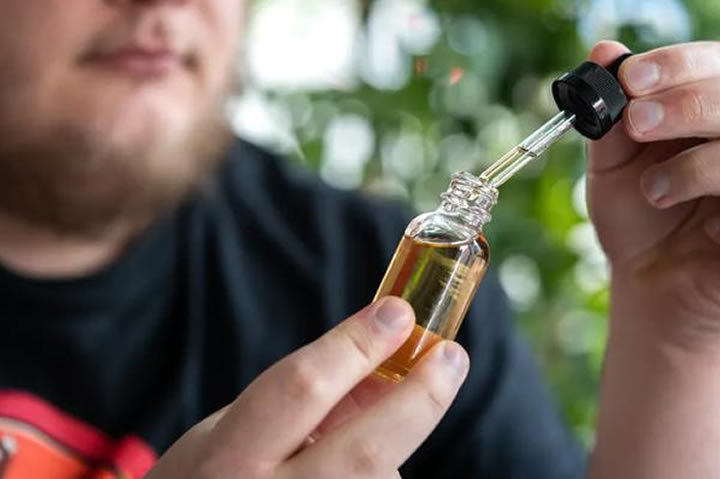
Vape Juice Flavour Concentrates. VG and PG are both individually very important, but we all love an additional sprinkle of flavour that adds a little oomph to the vape juice.
The flavour concentrates are available in several varieties and can be mixed and match to create a signature blend. Go ahead and be weird about it, nobody is judging you here!
A word of caution; make sure you always use flavourings that have been approved and designed specifically for e-cigarettes and inhaling.
Find your Vape Fluid Measurements
When it comes to figuring out the right measurement, it is a good idea to understand how all the ingredients come along to create the e-juice. The Nicotine strength, the thinness of the liquid, and the overall essence of the e-liquid depend on the intended volume of the nic shot, and VG/PG ratio. You can use a vape juice calculator available online to figure out the exact quantity of the ingredient for the bottle size.
To measure the volume of the ingredients, people either use Mls or use scales to figure out the weight. It is easier to mix by volume since you don’t have to take into account the specific weight of the PG and VG liquid. However, mixing by volume is not very accurate. If you’re for extremely precise measurements, it is a good idea to invest in a weighing scale.
Step-by-step Guide on How to Make e-Cig Liquid
You have the ingredients and the measurements ready. It’s time to make a flavoursome drool-worthy vape juice. You can find the most ideal e-liquids on the best online vape shop and replicate that with a twist for your DIY project.
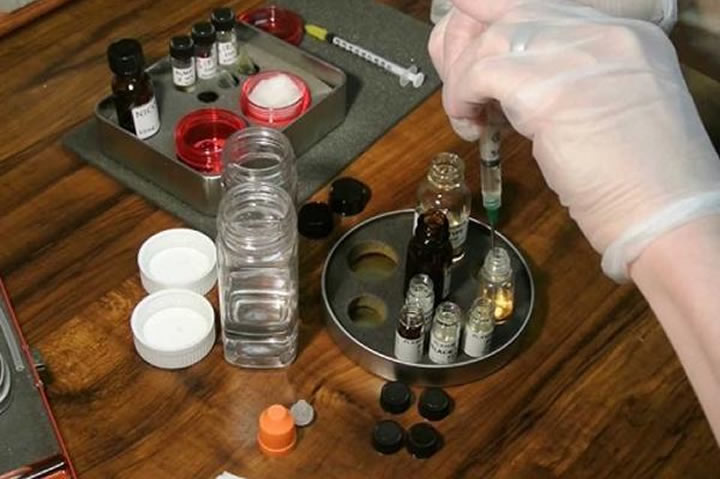
- Step 1: Base Mixture. The base mixture comprises the VG and PG liquids. Using the e-liquid calculator, use a syringe or a pipette to drop the exact amount into the beaker. It is the foundation of your vape juice. Ensure that you take extra care to determine the perfect measurements. Once done, clean the syringe to avoid any residue build-up.
- Step 2: Flavour Concentrates. The liquid sitting in your beaker doesn’t have any flavour and is as bland as things can be. To add a tempting factor to the liquid, drop in the recommended amount of flavour concentrates. The concentrate is safe to play with, and you can make it as sweet, sour, tangy, or mouth-filling as you want it to be. The upper limit for the flavour measurement is 20% of your vape juice, as it can be too sweet or sour. But it all depends on what you are aiming for. After all, it’s your DIY project.
- Step 3: Nic Shots. Nicotine Shots are the ingredients where you have to be careful. Too much addition of nicotine can make the liquid very powerful and overwhelming to consume. Follow the e-liquid calculator to understand how the nicotine shots should be added to the mixture. It’s a tricky step. Make sure you have the accuracy cap on! Remember that anything above 10ml nicotine is illegal in the UK.
- Step 4: Mix it! Once all the ingredients are sitting in the beaker, it’s time to mix it. Give the mixture a good stir to allow everything to come together. Use a clean syringe to transfer the mixture to the final vape bottle. Once bottled up, screw the cap and give the liquid a good shake.
Final Step: Steeping, Testing, & Storing
Steeping is a debatable concept among vapers, but to put our doubts to rest, it is always a good idea to give the vape juice enough time to blend.
Steeping refers to settling down the bottle of vape juice in a cool, dark place, allowing it to breathe. Yes, you need to keep the lid off too. It is recommended to leave it for at least 4 days, though some flavours may take longer to flourish. If you’re following a recipe that comes with a steeping time, make sure you follow it.
Once the steeping period is over, test your creation on your device. Make sure you’re following the correct temperature and coil resistance to bring out the best of the e-liquid.
Storing your e-liquids should always be done in a cool dark place. Excessive exposure to sunlight, heat, and oxygen might lead to the degradation of the vape juice.
This brings us to the end of our step-by-step guide on making e-liquid. Hope you found this informative!