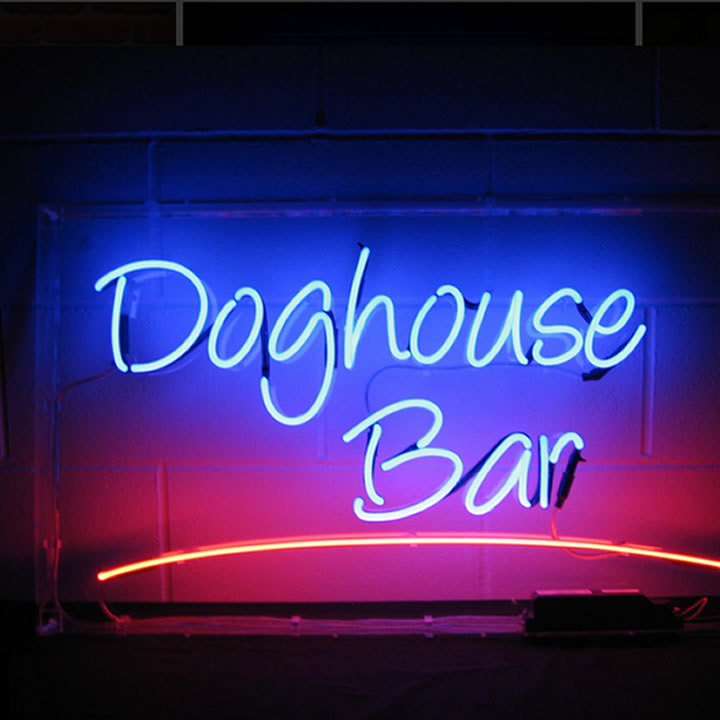
Most photographers know that working with light can make a huge difference to the finished photo, whether it’s natural light or artificial.
In big cities with bright lights and neon signs, urban photographers will have challenges to contend with from many different light sources, but this can sometimes make a photograph appear even more striking.
Some of the world’s most fascinating cities like Las Vegas, Hong Kong, and London owe much of their visual appeal to attractions like neon signs, particularly at night. This can provide intriguing photography opportunities.
After all, is there anything more impressive than a mix of light, color, and shape in order to create a striking photograph?
However, taking pictures of all these bright, different, and customized neon signs isn’t always so straightforward.
In this article, we’ll offer a few tips to take the best photos of neon signs.
Finding inspiration
If you are hoping to add some neon-drenched, urban photography to your portfolio, look at some existing neon photography to see how others have achieved their desired effect. Platforms like Instagram or Pinterest are a great place to start, but look out for any local exhibitions too.
Shooting neon signs in a city is usually done best at night, as the darkness can really bring the different neon colors and light to life. This could make a huge difference to the final shot.
The use of props
You might want to consider using additional props to help you get the most out of the image. Try holding up the reflective side of a CD to your lens to create an extra burst of color, or invest in a glass prism to refract light across the image.
If you are using a model in your shot, consider the effects of having the model wear a pair of glasses to reflect parts of the image and draw you in.
Underexpose your photo
The brightness of a neon sign compared to the darkness of your surroundings can tempt you to turn up the exposure on your camera. Instead, underexpose it and enhance the details afterward during editing.
By doing this, you can edit your image later on and ensure you are able to minimize grain while capturing more detail. This method may also help you preserve the color of the neon sign, giving a more true-to-life final product.
Post-processing
To many photographers, the editing stage is more important than taking the photo itself!
This is the time when you can perfect the image in order to capture every detail. If you haven’t already, look into some professional photo-editing software to play around with the color, highlights, and lowlights.
This can help you adjust the image to create the perfect finished photograph and show off your skills.

